
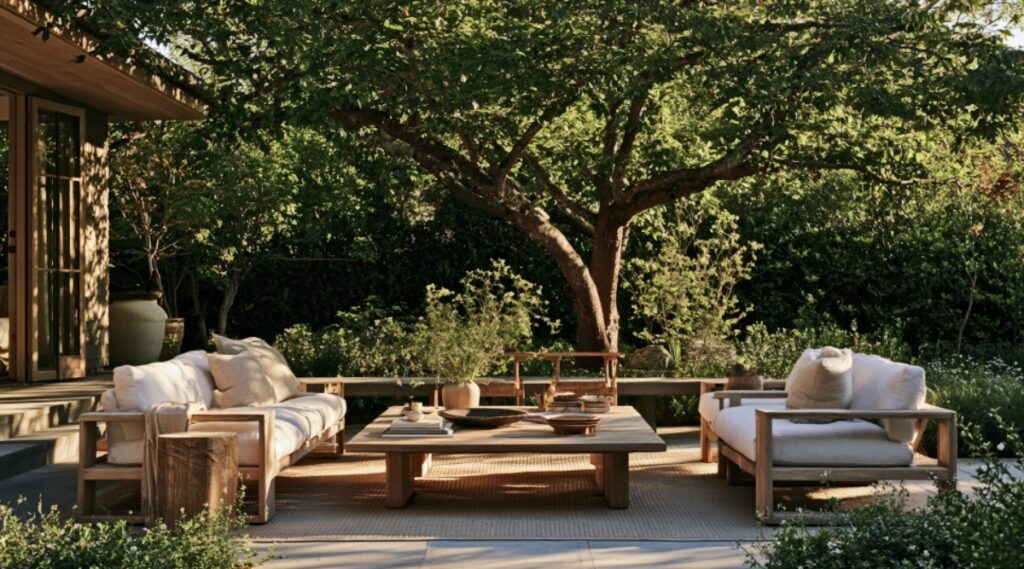
Design an outdoor living space in a fixed order: decide how you’ll actually use it, study the site (sun, slope, drainage, boundaries), lay out zones and the paths between them, install drainage and utilities, and only then choose materials, plants and lighting. Reverse that order and you’ll pour concrete over a drainage problem or build a patio your dining tables and chairs don’t fit on. The goal is a backyard that feels like an extension of your indoor living spaces, not a stage set.
This guide is for anyone staring at an empty, awkward or underused backyard who wants a plan they can build now or in stages. Demand for outdoor living is real: Houzz’s 2026 outdoor trends study found 83% of renovating homeowners included lounge or seating areas and 55% included dining. The design ideas below work on a small city lot or a half acre, because they start with how you live rather than with a product you saw online.
What Makes an Outdoor Living Space Work? The Three Layers
Every successful outdoor room is built in three layers. Performance comes first: drainage, sun exposure, utilities, access and permits. Function comes second: activity zones, furniture footprints and circulation. Atmosphere comes last: materials, planting, lighting and the details people photograph. Each layer constrains the next, which is how the overall design ends up holding together.
The invisible layer decides whether you sit outside in July. Clean lines and a tight material palette help a space read as a genuine outdoor living room rather than a collection of purchases, and every element you add should earn the floor area it takes. If you want one line to keep in your head:
Program → Site → Zones → Infrastructure → Comfort → Materials → Atmosphere
Step 1: Write a Brief Around Your Lifestyle, Not a Photo
Before anything gets drawn, answer these honestly:
- Who uses the backyard every week, not just at the summer party?
- What’s the primary activity: dining, lounging, cooking, gardening, play or quiet time?
- Everyday headcount versus your largest realistic gathering of friends and loved ones?
- Will kids, pets, older adults or anyone with limited mobility use the space?
- Which seasons and times of day does it need to be comfortable?
- How much maintenance will you genuinely do?
Then label every wish-list item essential, occasional or future. The more time outdoors you expect to spend, the harder the infrastructure behind the pretty parts has to work. A small backyard that supports one or two activities properly beats one that handles five badly. For context on what other households prioritize, Houzz found 53% created a quiet or reading space, 49% made room for gardening and 48% added an outdoor cooking area. Match the brief to your lifestyle: if you grill twice a week, an outdoor kitchen earns its place, and if you don’t, that budget belongs in shade.
Step 2: How Do You Map Your Site Before You Design the Patio?
Walk the backyard with a notepad and record what’s actually there:
- Property lines, easements and setbacks
- Doors, windows and the sightlines from inside the house
- Existing trees and their root zones
- Morning sun versus hot afternoon sun
- Prevailing wind and where rain blows in
- Slopes, low spots and where water already collects
- Neighboring windows, plus views worth keeping
- Meters, HVAC equipment and service access
- Existing outlets, hose bibs and lighting circuits
- Equipment access for construction and future maintenance
Do this at several times of day, because a corner that looks perfect at 10 a.m. can be unusable at 6 p.m. in August. Build a simple comfort map: sketch where shade, direct sun, wind and heat reflected off walls or paving land in the morning, afternoon and evening. Reading the site this way is the real starting point of landscape design, and it shapes every later decision in the project. Then, before any post hole, tree pit, trench or drainage line gets dug, contact 811 and let the utility locators mark buried lines. The national service asks for a few business days’ notice.

Step 3: How Do You Divide a Backyard Living Space Into Zones?
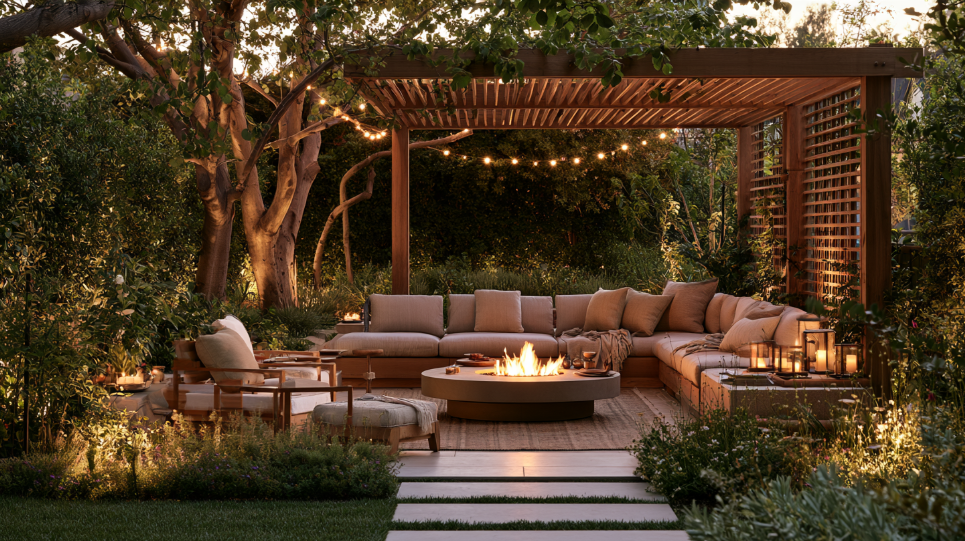
Zone by adjacency, the same way you’d approach planning rooms indoors. Dining belongs near the indoor kitchen so plates and drinks don’t travel the length of the backyard. The route from house to table to grill or outdoor kitchen should be direct. Put comfortable seating off the main traffic path so it can work as a serene retreat. Play spaces should be visible from the windows you stand at most.
Grills need separation from the house, deck railings, eaves and overhanging branches, and NFPA recommends keeping kids and pets at least three feet from the grill. Keep a clear service route to gates, storage and utility shutoffs too, or you’ll be dragging a mower through your lounge furniture.
You rarely need walls to separate outdoor living spaces. A change in paving, an outdoor rug, a run of planters, a low hedge, a pergola or a single step down all signal “different room” while keeping the backyard open. Start with a bubble diagram: loose circles for each activity, lines for the routes people will truly walk, then shape the patio around that. This is the cheapest stage to test ideas, since moving a circle on paper costs nothing.
Step 4: How Much Space Does an Outdoor Dining Area Really Need?
Size each space from furniture in use, never from the furniture’s footprint alone. Measure the available space first, then choose the right furniture to suit it instead of the other way round.
Usable zone = furniture footprint + operating space + circulation
Four things have to fit: the furniture itself, chair pullback and recline, a walking route around occupied seats, and everything that swings open (grill lids, cabinet doors, the back door). Dining sets generally need around 100 square feet as a starting benchmark. Deep lounge chairs need recline room behind them, and dining al fresco needs a clear carrying route from the kitchen. For routes, the U.S. Access Board uses 36 inches as a minimum continuous accessible width and 60 inches as a typical wheelchair turning dimension. Those are useful inclusive-design references rather than automatic requirements for a private patio, but they’re good numbers to design toward.
Mock it up full size. Painter’s tape on the lawn, cardboard boxes for chairs, a garden hose for the patio edge. Sit in the space for ten minutes before anything is poured.
Step 5: Solve Water, Shade and Utilities Before Anything Gets Poured
Water. Send runoff away from foundations and seating. Don’t create a low pocket beside a door or at the base of steps. Know where roof water and patio water end up, and never concentrate runoff onto a neighbor’s property. EPA guidance on green infrastructure supports permeable paving, planted swales and rain gardens as ways to slow and infiltrate water instead of shedding it all to the street. Ignore any universal patio slope number you read online: the right figure depends on the surface, climate, drainage outlet and locally adopted code.
Shade and wind. Design for the hottest, windiest, wettest day, not a mild spring afternoon. Canopy trees, pergolas, retractable awnings and vertical screens against low western sun provide shade and enhance comfort far more than any furniture purchase. Screens that filter wind work better than solid ones, which create turbulence. The EPA reports urban areas with tree canopy average roughly 3°F cooler than non-green areas, so mature shade can significantly enhance the whole outdoor living area.
Utilities. Run conduit, gas lines, water, irrigation sleeves and lighting circuits before paving goes down. Check with your local building department early, because structural, electrical, gas and plumbing elements typically need permits and local amendments vary.
Step 6: How Do You Create Privacy Without Making the Backyard Feel Smaller?
“Privacy” usually means six different jobs: screening specific sightlines, physical security, pet containment so your four-legged best friend stays put, sound buffering, spatial definition and wind or shade control. Each one has a different solution, and almost none of them require a solid barrier on all four sides.
Figure out the two or three spots that actually matter, usually one neighbor’s upstairs window and the view from the street, and treat those rather than walling in the whole outdoor area. Fences, gates, wrought iron panels, trellises, layered planting with varied textures, hedges and level changes all work to enhance seclusion. Ask whether a screen will kill the breeze or a view you like, whether the gate is wide enough for a mower, wheelbarrow or future construction equipment, and what local height, setback, corner-visibility and pool-barrier rules require. In fire-prone parts of California, CAL FIRE guidance focuses on the first five feet around structures and recommends replacing combustible fencing attached to a home with noncombustible alternatives.
When hiring a boundary contractor, compare licensing, insurance, cleanup, communication and the written scope, not just price. The company says the homeowner frustration that led to the 2011 founding of Fantastic Fence by Dominic Vella and Steve Kempster came from late crews, poor communication and messy sites on his own property. Good reminder to put access, debris removal, gate hardware and responsibilities in writing.
Step 7: Future-Proof the Backyard for an ADU, Studio or Pool
A structure you might build in five years changes decisions you make today. It affects setbacks and buildable area, utility routing, the width you need for machinery, window placement and privacy between households, drainage paths, and where separate seating spaces can go. Leave the likely building footprint and an equipment route clear of permanent paving, mature trees and buried improvements.
Permanent paving can make a future accessory dwelling unit harder and more expensive to site. On Sacramento-area properties, a full-service design-build resource such as Golden State ADU illustrates why access, utilities, drainage, privacy and permitting should be studied together before patios and mature planting are fixed in place. Sleeving a spare conduit now makes sense, because saw-cutting a finished patio later costs far more.
Step 8: Choosing Outdoor Furniture, Materials and Natural Elements
Materials that survive your local climate
Judge every surface and piece of furniture against your local climate: summer heat, freeze-thaw cycles, moisture, salt air, fire exposure. Then check slip resistance when wet, whether chair legs wobble on the surface, how easily a damaged section can be repaired, and how much cleaning it demands. Those practical checks decide how the patio area ages. Weather resistant materials earn their cost on anything that never comes indoors, and weather resistant furniture that stays out year round saves storage hassle. A consistent, restrained palette keeps a small outdoor space calm instead of busy and holds the overall style together.
Natural elements: native plants and selection beyond the hardiness zone
The USDA Plant Hardiness Zone Map tells you about winter minimum temperatures and nothing else. Also weigh mature height and width, root behavior near paving and utility lines, sun exposure, soil and drainage, rainfall, irrigation demand, and whether anything thorny or toxic sits near play spaces and walkways. Group plants by water need. The EPA estimates U.S. residential outdoor water use approaches 8 billion gallons a day, with as much as half potentially wasted through overwatering and inefficient systems. Houzz found 73% of renovators chose low-maintenance plants, 56% pollinator-friendly varieties, 55% native plants and 49% drought-resistant species. Natives also pull nature back into the yard, and planting is where most of a garden’s beauty comes from season to season. In tight spaces, vertical gardens on a wall or fence add visual appeal, and a couple of raised beds of edible plants give you produce without eating floor area.
Design Ideas for Focal Points: Outdoor Fire Pit, Outdoor Kitchen or Water Feature?
Pick one focal point, not three. A backyard with a fire pit, full outdoor kitchen and koi pond usually has no room left to sit.
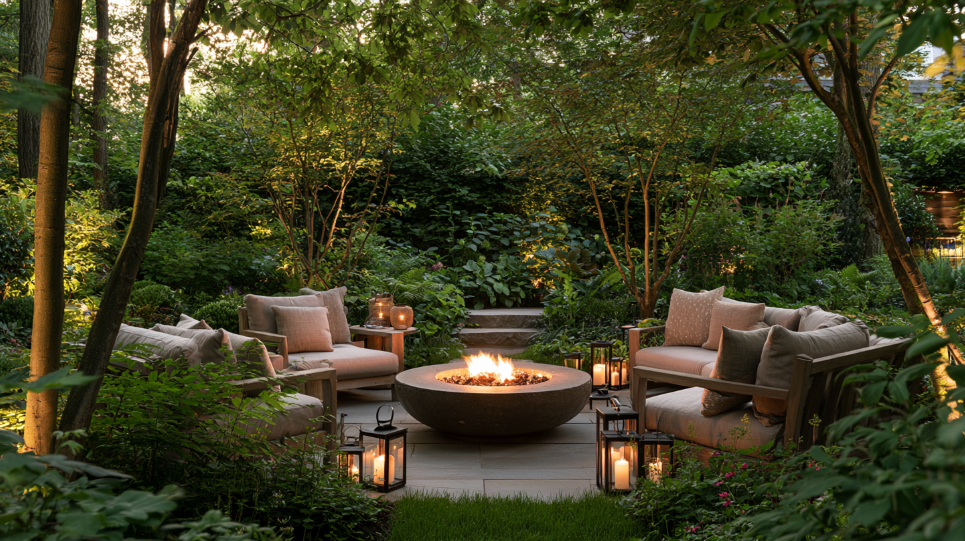
An outdoor fire pit is a fantastic addition that stretches the season into cool evenings, gives seating something to face and creates a warm and inviting atmosphere. Clearances must follow the appliance listing, the manufacturer’s instructions and local fire code, never a generic number from a forum. An outdoor kitchen needs gas, water and drainage decided at the infrastructure stage, and it belongs beside the dining space and out of the main walking route. A water feature, whether a fountain, small pond or water wall, masks traffic noise and draws in birds and pollinators, but budget for power, routine maintenance and child safety. If two ideas tie, build the one you’d use on an ordinary Tuesday.
How Do You Layer Outdoor Lighting Without Overlighting the Backyard?
Use three layers: task light for cooking, dining and steps; route light to illuminate walkways and gates; low-level accent lighting on trees, walls or planting. DarkSky International and the Illuminating Engineering Society boil good outdoor lighting down to a few principles: make it useful, aim it only where it’s needed, keep it no brighter than necessary, shield it and point it downward, favor warm color, and control it with timers, dimmers or motion sensors.
Hide the source where you can, and never aim a fixture at a neighbor’s window. Keep steps and the grill on reliable fixed light, and treat string lights as atmosphere rather than your only illumination. Pull wiring before paving. The National Association of Realtors gave landscape lighting a 10 out of 10 Joy Score in its outdoor features study, which measures homeowner satisfaction rather than resale return, and few design choices enhance a space this cheaply after dark.
In What Order Should You Build, and When Should You Hire a Landscape Designer?
- Survey, goals and budget
- Local code, HOA and permit check
- Concept plan plus a full-size furniture test
- Grading and drainage
- Underground utilities and conduit
- Structures and boundaries
- Hardscape
- Irrigation and planting
- Lighting
- Furniture, accessories and personal touches
Draw the complete plan first even if you’ll build it over five years. Phased construction works fine as long as early work never blocks a later addition.
Scope falls into four tiers: decorative (furniture, planters), landscape (grading, irrigation, planting), structural (decks, pergolas, retaining walls) and specialty (electrical, gas, plumbing, pools, fire features). A landscape designer earns the fee on grading, circulation and climate-appropriate plant selection, which is where most self-directed landscape design goes wrong. Licensed trades handle the rest. Houzz reported 71% of homeowners doing outdoor renovations in 2026 hired at least one professional.
Design Tips: Common Outdoor Living Mistakes to Avoid
- Starting with a product you saw online instead of an activity you do
- Sizing the patio to the table but not to the pulled-out chairs
- Ignoring low western sun in the hours you’d actually sit outside
- Grading runoff toward the house instead of away from it
- Blocking gates and equipment access with permanent features
- Paving over future utility runs or a likely building footprint
- Lighting the whole backyard with one bright floodlight
- Choosing plants by how they look at the nursery, not by mature size
- Building every space slightly too small so none of them work
- Treating permits and HOA rules as a last-minute formality
Frequently Asked Questions
How do you create a nice outdoor space on a normal budget?
Put the money into one well-sized, inviting space rather than three cramped ones. Fix drainage and shade first, since those are expensive to retrofit. Mock up furniture with cardboard before buying, and phase the remaining design ideas over a few seasons.
What is the 3-5-7 rule in landscaping?
Planting in odd-numbered groups of three, five or seven reads as more natural than even pairs or lone specimens, and it supports a cohesive design. It’s a composition guideline designers use to avoid stiff, symmetrical results, not a code requirement.
Can ChatGPT design your garden?
It’s useful for brainstorming layouts, building plant shortlists and generating questions to ask a contractor. It can’t survey your site, confirm drainage, soil conditions or setbacks, and it doesn’t replace a local professional or a permit check.
Is there an app I can use to design my garden?
Yes. Several 3D landscape and room-planner apps let you test ideas and check furniture scale against real dimensions. Verify every measurement on site, and confirm anything structural with your local building department.
Start With the Plan, Not the Furniture
The outdoor living spaces people actually use aren’t assembled from attractive features bought one at a time. They come from reading the site, planning movement and infrastructure, then adding the materials, natural elements and details that enhance the space. Work in that order and you can transform your backyard into a genuine extension of the house, whether the anchor ends up being a fire pit, an outdoor kitchen or a quiet water feature. Confirm local planning, HOA, utility and fire requirements before you build.